Lighting is one of the most crucial elements in photography as it significantly impacts the mood, clarity, and overall quality of a photograph. For travel photographers, however, capturing the perfect light can be particularly challenging due to constantly changing environments, tight schedules, and unpredictable weather conditions.
A few strategic tips can help you improve your use of lighting techniques and enhance the quality of your travel photos, even when you’re pressed for time. Check out these practical strategies to maximise the lighting options available to you while you’re on the move:
1) Use Natural Light
Natural light is often the best source for beautiful, well-lit photos. However, mastering it requires an understanding of how to use it to your advantage in various conditions. Aside from finding a rent a lens UK service or other similar local service in preparation for your trip, make sure to familiarise yourself with these strategies for utilising natural lighting:
- Seek shade. Direct sunlight, such as the midday sun, can create unflattering shadows and highlights. Look for shaded areas to achieve more even lighting on your subjects. Shade softens the light and reduces harsh contrasts, making it easier to capture well-balanced images.
- Catch the golden hour. The hours shortly after sunrise and just before sunset offer the most flattering natural light for photography. The light is soft and warm during these times, which is ideal for creating long shadows that can add depth and dimension to your photos.
2) Leverage Reflective Surfaces
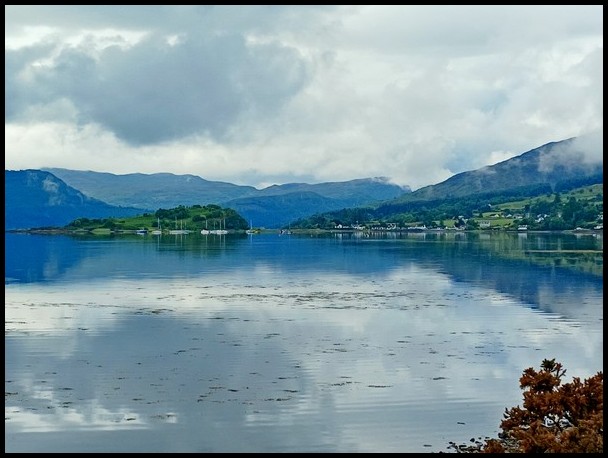
Reflective surfaces can be a great aid in managing light. These can help fill in shadows and add interesting effects to your photos. Try the following tips to achieve good lighting from reflective surfaces in a short amount of time:
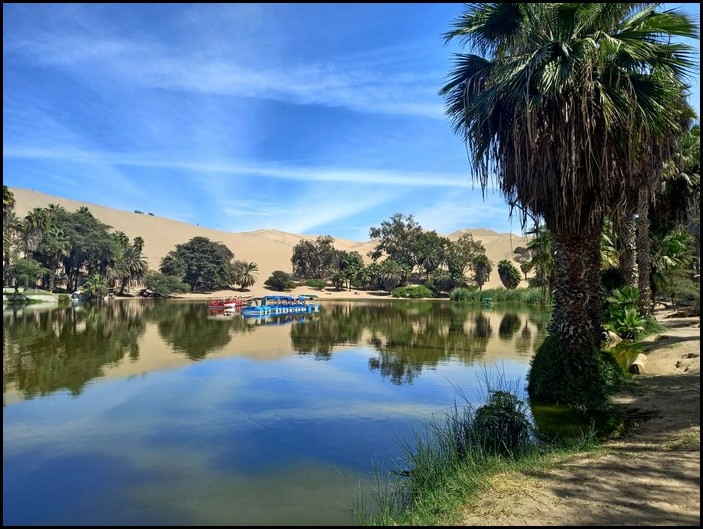
- Use water and glass. Using reflections from water, windows, or other reflective surfaces can enhance your photos by creating symmetry and adding depth. For example, shooting a cityscape reflected in a puddle or a portrait next to a glass building can produce striking images with dynamic lighting.
- Carry a reflector. A small, foldable reflector is an invaluable tool for any travel photographer. Reflectors bounce light onto your subject and assist in filling in shadows and creating a more balanced exposure. If you don’t have a reflector, improvising with a white piece of paper or a light-coloured scarf can also work in a pinch.
3) Adjust Your Camera Settings
Your camera’s settings can significantly impact how it handles lighting. Learning to adjust these settings can help you adapt to various lighting conditions quickly. Be sure to do the following in that regard:
- Adjust exposure compensation. Adjusting your camera’s exposure compensation allows you to brighten or darken your images as needed. This is particularly useful when shooting in tricky lighting conditions, such as backlit situations or high-contrast scenes.
- Fiddle with ISO settings. In low-light conditions, increasing your camera’s ISO setting can make the sensor more sensitive to light and allow you to capture brighter images. However, be cautious about every adjustment, as higher ISO settings can introduce noise into your photos. Finding the right balance between sensitivity and image quality is key.
4) Use Artificial Light
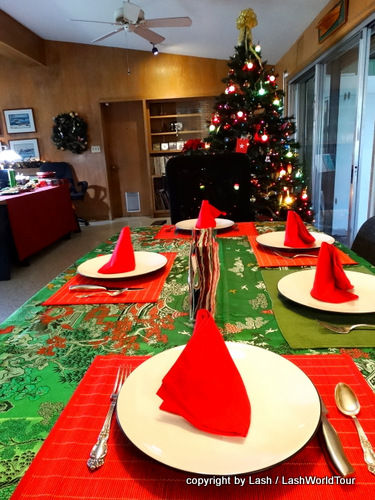
Sometimes, natural light isn’t enough, and you’ll need to supplement it with artificial sources. Portable artificial lights can be lifesavers in such situations. Try these quick lighting fixes if you’re running out of daylight:
- Bring portable LED lights. Portable LED lights are compact and easy to carry, making them ideal for travel. These lights provide a consistent and adjustable light source that allows you to illuminate your subject as needed. They’re especially useful for evening and indoor photography when natural light is limited.
- Use a smartphone flashlight. Your smartphone’s flashlight can serve as a quick and convenient light source if all else fails. While it’s not as powerful as dedicated lighting equipment, it can help in a pinch. Softening the light with a piece of tissue or paper can diffuse it and reduce harsh shadows to create a more flattering effect for your travel photos.
5) Choose the Right Positioning and Angles
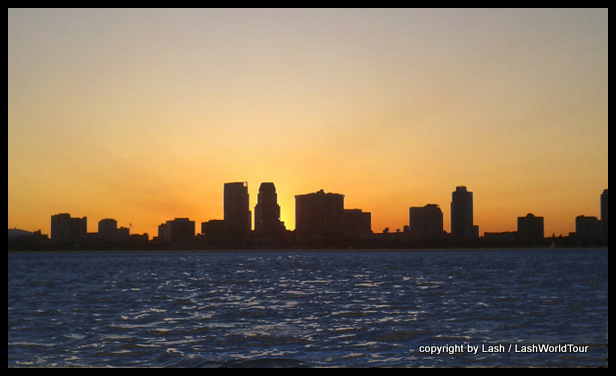
The positioning of your subject and the angle of the light source play a crucial role in how the light interacts with your subject. One option, backlighting, involves positioning the light source behind your subject. This can create a dramatic effect, with your subject appearing as a silhouette against a bright background.
Another, side lighting, involves placing the light source to the side of your subject. This creates shadows on one side and highlights on the other, adding depth and a three-dimensional feel to the subjects in your travel photos.
6) Utilize Post-Processing
Post-processing allows you to enhance the lighting in your photos after they’ve been taken. This step can be crucial for fine-tuning photos and achieving the perfect look.
Photo editing apps like Adobe Lightroom, Snapseed, and VSCO offer powerful tools to adjust brightness, contrast, shadows, and highlights. These adjustments can significantly improve the lighting in your photos and make them look more polished and professional.
Meanwhile, taking pictures in High Dynamic Range (HDR) mode will allow you to capture multiple exposures of the same scene and combine them to create a single image with balanced lighting. This is especially useful in high-contrast lighting situations where you need to retain detail in both the shadows and highlights.
7) Be Creative with Available Light
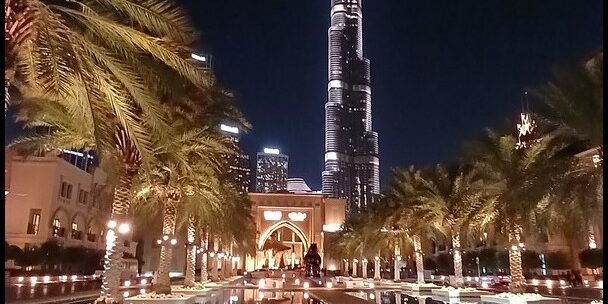
Sometimes, the available light can add a unique and creative touch to your travel photos. Embracing these opportunities can lead to stunning results. For instance, you can work with street lights, shop windows, and other artificial light sources to add an atmospheric touch to your photos, especially at night. These light sources can create interesting shadows and highlights, adding depth and drama to your images and evoking the spirit of the place you’re visiting.
8) Plan Ahead
Ultimately, preparation is key to making the most of your time and the available light when travelling. A bit of planning can go a long way in ensuring better lighting for your photos. Do the following while planning your trip and making your way to your destination and back:
- Scout locations. If possible, scout your location ahead of time to understand how the light changes throughout the day. This allows you to plan your shoots for the times when the lighting is best.
- Check weather conditions.Keep an eye on the weather forecast and be flexible with your plans. Overcast days can provide soft, diffused light that’s ideal for photography, while sunny days offer the opportunity to play with shadows and highlights.
Good lighting can transform a mediocre photo into an extraordinary one by bringing out the best in your subject and adding depth and dimension to your images. Understanding how to manipulate and work with available light will enable you to significantly improve the quality of your travel photos and capture moments beautifully from wherever you are and whatever time it is on your current side of the world.
=======================================




 Hi! I'm Lash, an American nomadic world traveler who's been traveling solo since 1998. I’m passionate about traveling the world nomadically and then sharing it all with you. I hope to inspire you to travel the world, to entertain you with tales from the road, and to help you reach your travel dreams. Welcome!