


Traveling is a wonderful opportunity to explore new places and learn about other cultures. It can also be incredibly beneficial to make your travel experience even more amazing by incorporating video into your travel plans. Whether you’re a seasoned traveler or a first-time tourist, taking a video is a worthwhile way to document and share your experiences. From capturing the beauty of your surroundings to recording your reactions as you explore new places, shooting video can help you remember and cherish your trips for years to come. Plus, it’s a convenient way to show friends and family what you’ve been up to.
Travel videos are all the rage these days and for good reason. But it can be challenging to plan your dream video-even if you’re just getting started out. This article will help you in some way – whether it’s knowing what you need or editing videos that convert. Get started on what you will need before you begin filming.
Here are the requirements for editing a high-quality travel video
A CAMERA – This is the first thing you’ll need. There are so many options out there and it really depends on what you want to spend. Sony A5100 is suitable for beginners, but if you’re an experienced filmmaker, the sky’s the limit.
SETTING-UP – Before you start filming, make sure you check all of your camera settings. The most influential factors are white balance, exposure, and focus. Manual modes work best for travel vloggers as you can control almost everything in post-production with ease.
TRY TO GET A SMOOTH SHOT – Travelling with a tripod is always a wise idea. You might not always want to travel with a tripod, which is fine. However, if you can’t get a smooth shot without it, at least make sure your camera isn’t wobbling around everywhere. Trust me, the more stable your footage, the better.
USE A TRIPOD – If you don’t have or want to travel with a tripod, use anything that you can. Sometimes you can hold your camera with one hand, or leave it on a rock/tree, etc. Anything to make it as steady as possible.
WATCH WHERE YOU’RE PLANNING – Make sure you are aware of your surroundings when filming. Keep an eye out for cars, buses, motorbikes or anything else that might threaten your safety.
PLAN YOUR VIDEO – There are so many different ways to work out a video, but the one that you can use is just having an idea of what you want to show in the intro, where you want to film, and what time of the day/year it is. Also, make sure you plan out your shots. You don’t have to plan everything out, but at least have a strategy.
STOCK UP – If you’re traveling for a long period of time, always stock up on as many memory cards and batteries as you can. It’s always smart to have a backup, and sharing footage with friends/family is an easy way of making sure you’re getting everything you need.
READ THE DIRECTIONS – Learning how to use the different settings on your camera will help so much when filming. Knowing what’s changing in each mode and what you can do to make your video look even better will save you a lot of time. Also getting friends/family who know how to use cameras to help out is another viable option.
BECOME AN EDITOR – Learning how to edit your film is so much fun and will help you improve your filmmaking skills massively. If you are planning to share your videos on YouTube, use Veed YouTube video maker to enhance your video. In little time at all, you can effortlessly turn your videos into fantastic, YouTube-ready content using this editing program. The tool offers a number of video editing tools that make it possible for you to be creative.

How to Edit a Travel Video That Converts
Now that we’ve covered the things you need to start a video, let’s take a look at the process of editing engaging videos.
If you’ve ever worked with a photo before, editing a video will be a welcome piece of cake. If not, don’t worry. Editing a video is easier than you think. Even if things get complicated from time to time, you can always come back to this article and follow the steps below – it’s never been easier.
1. Importing/Downloading the videos from your camera
Importing or downloading your footage is the first step in getting your footage to actually look “edited.” In this step, you will need to edit the name of all clips and add markers to them that indicate the times you want to have music, titles, and effects played.
2. Creating project folders
Create distinct folders in your Projects window for each type of element that will be added to your video. For example, create one folder for any audio clips that are being used, another folder for “titles,” which are text blocks that have been pre-written or are being recorded on the spot, another folder for “intro clips,” which are bits of footage to play at the beginning of your video, etc.
3. Sequence Clips
Drag any video clips you have into the timeline. If you plan on adding text blocks or photos, drag them into their corresponding folders in the Project window.
4. Audio Editing
Editing audio is often overlooked, but it’s arguably the most significant step in making your video come to life. Because this step can be tough, you’ll probably want to put it off until everything else is in order. Don’t worry – it’s not as complicated as it sounds!
5. Add Titles
Many video editing software programs have pre-written text blocks called “titles” that can be played with the click of a button. These are helpful for adding subtitles to your video. However, they can also be used for creating titles on top of your videos, adding images at the beginning or end of your video, etc.
6. Add Intro/Outro Clips
Adding intro and outro clips simply insert pre-made clips at the beginning or end of your video, respectively. For example, you can incorporate a clip of someone waving in front of a landmark before the main footage begins. Additionally, you can also add your return home after all of your travels have been completed.
7. Added Transitions
Transitions add a sense of flow to your video, much like the stop motion effect when you’re flipping through photos in a photo album or scrapbook. They can be used to indicate that time has passed, that one scene is ending and another beginning, etc. The options are endless!
8. Added Music
Adding music is probably the most fun part of editing a video because you get to add all of your favourite songs, but remember – music can make or break a video, so it’s imperative to be selective and add only the most appropriate songs that fit with what you’re trying to communicate.
9. Titles and Credits
Adding titles and credits are helpful for communicating who made your videos, where you traveled to, etc. Don’t forget your contact info so people can find you online – especially if they liked what they saw!
10. Finish up/Save the video
Finally! All that’s left to do is add finishing touches such as fades and effects, share your video, and check it for errors.
Ending Note
There is nothing more satisfying than capturing breath-taking footage on your next adventure. However, when you’re editing videos afterward, there can be a lot to take in and it’s easy for things to get overwhelming. Hopefully, we provided you with enough information so you don’t feel totally lost when thinking about traveling more but also enjoying yourself during those journeys none the less.
=========================================


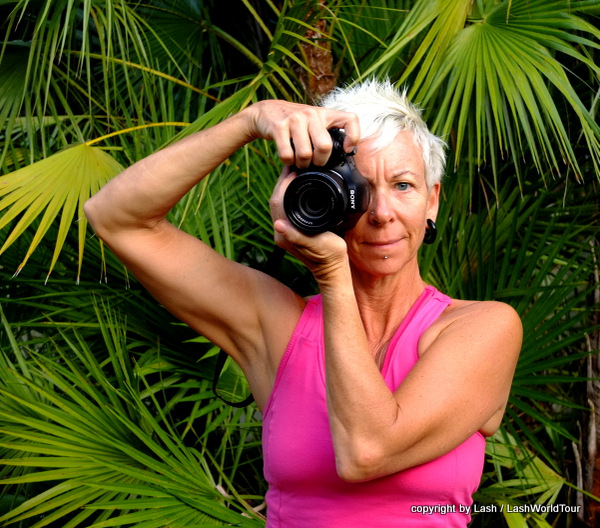
 Hi! I'm Lash, an American nomadic world traveler who's been traveling solo since 1998. I’m passionate about traveling the world nomadically and then sharing it all with you. I hope to inspire you to travel the world, to entertain you with tales from the road, and to help you reach your travel dreams. Welcome!